swift改行について
他の人が書いたソースコード読んで、ちょっと混乱したのでメモ
swiftは行終わりに ; を書かなくてもよい、であって書く事もできます。
なので
var strA:String = "strA"; var strB:String = "strB";
という形に一行で複数の変数宣言も可能です。
私はswiftでこの書き方はしませんが、良い使いかたもあるのかも知れませんね。
UIAlertControllerを使ってみる
とりあえず画面にボタンを追加します
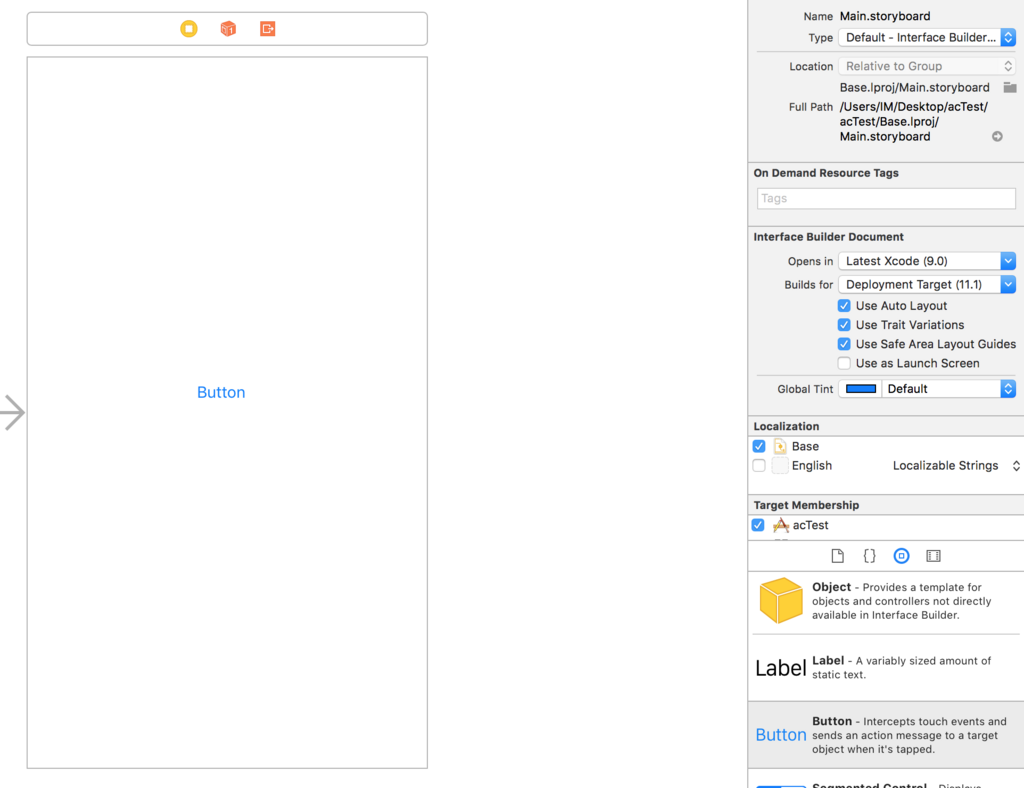
ボタン押下時にUIAlertControllerを表示するよう変更
    @IBAction func btnClick(_ sender: UIButton) {
        let ac = UIAlertController(title:"Title", message: "Message", preferredStyle: UIAlertControllerStyle.alert)

        let aDef = UIAlertAction(title: "default", style: UIAlertActionStyle.default, handler: {
            (action: UIAlertAction!) in
            print("Default!")
        })

        let aDes = UIAlertAction(title: "destructive", style: UIAlertActionStyle.destructive, handler: {
            (action: UIAlertAction!) in
            print("Default!")
        })

        let aCan = UIAlertAction(title: "cancel", style: UIAlertActionStyle.cancel, handler: {
            (action: UIAlertAction!) in
            print("Cancel!")
        })

        ac.addAction(aDef)
        ac.addAction(aDes)
        ac.addAction(aCan)

        self.present(ac, animated: true, completion:popoverPresentationController)
    }
表示できました。
addActionを2つに減らすと表示されるボタンのスタイルが少し変わります。
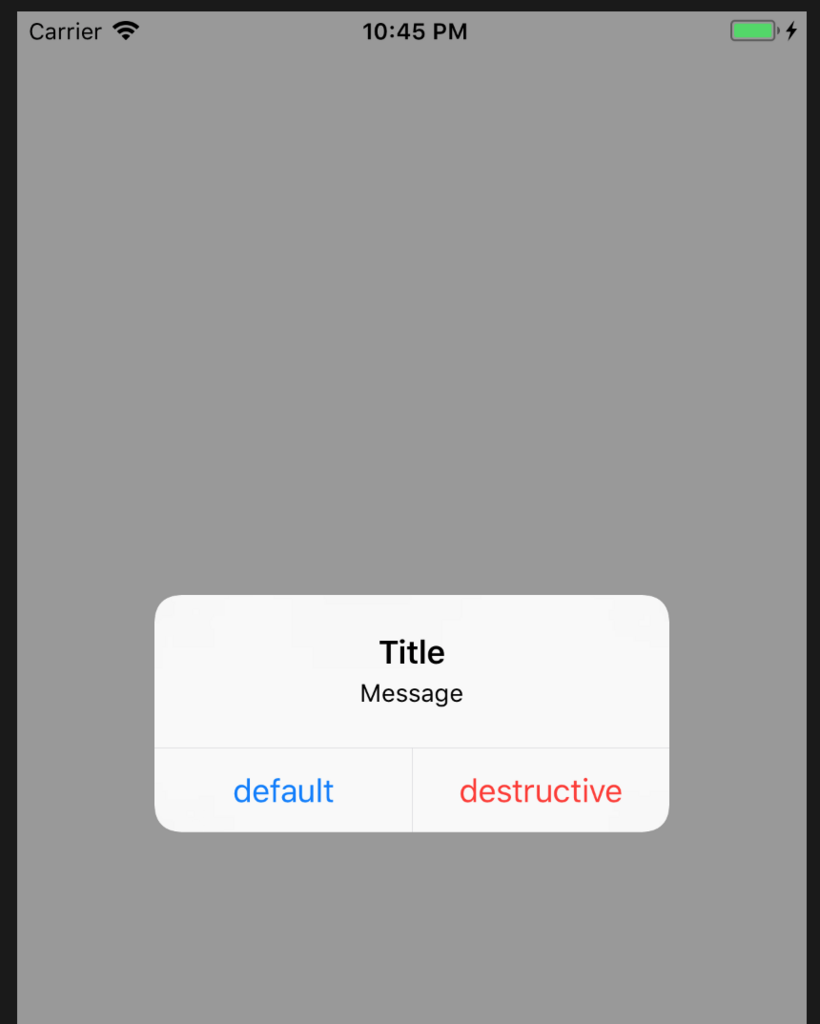
できました。
下からの表示に変更します。
UIAlertControllerStyle.alert を UIAlertControllerStyle.actionSheet に変更すれば下からの表示になります。
    @IBAction func btnClick(_ sender: UIButton) {
        let ac = UIAlertController(title:"Title", message: "Message", preferredStyle: UIAlertControllerStyle.actionSheet)

        let aDef = UIAlertAction(title: "default", style: UIAlertActionStyle.default, handler: {
            (action: UIAlertAction!) in
            print("Default!")
        })

        let aDes = UIAlertAction(title: "destructive", style: UIAlertActionStyle.destructive, handler: {
            (action: UIAlertAction!) in
            print("Default!")
        })

        let aCan = UIAlertAction(title: "cancel", style: UIAlertActionStyle.cancel, handler: {
            (action: UIAlertAction!) in
            print("Cancel!")
        })

        ac.addAction(aDef)
        ac.addAction(aDes)
        ac.addAction(aCan)

        self.present(ac, animated: true, completion:nil)
    }
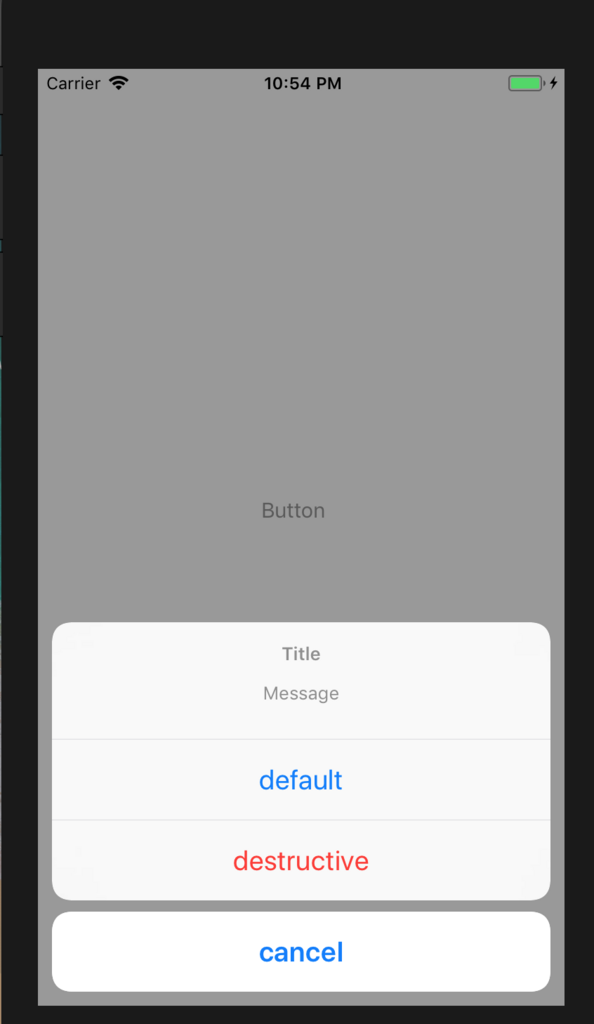
できました。
popoverで表示してみます。
UIAlertControllerStyle を actionSheet に変更すると popoverPresentationController の設定を使用できます。
iPhoneだと動作を確認できないので、iPadで実行します。
    @IBAction func btnClick(_ sender: UIButton) {
        let ac = UIAlertController(title:"Title", message: "Message", preferredStyle: UIAlertControllerStyle.actionSheet)

        let aDef = UIAlertAction(title: "default", style: UIAlertActionStyle.default, handler: {
            (action: UIAlertAction!) in
            print("Default!")
        })

        let aDes = UIAlertAction(title: "destructive", style: UIAlertActionStyle.destructive, handler: {
            (action: UIAlertAction!) in
            print("Default!")
        })

        let aCan = UIAlertAction(title: "cancel", style: UIAlertActionStyle.cancel, handler: {
            (action: UIAlertAction!) in
            print("Cancel!")
        })

        ac.addAction(aDef)
        ac.addAction(aDes)
        ac.addAction(aCan)

        ac.popoverPresentationController?.sourceView = self.view
        ac.popoverPresentationController?.sourceRect = btn.frame

        self.present(ac, animated: true, completion:nil)
    }
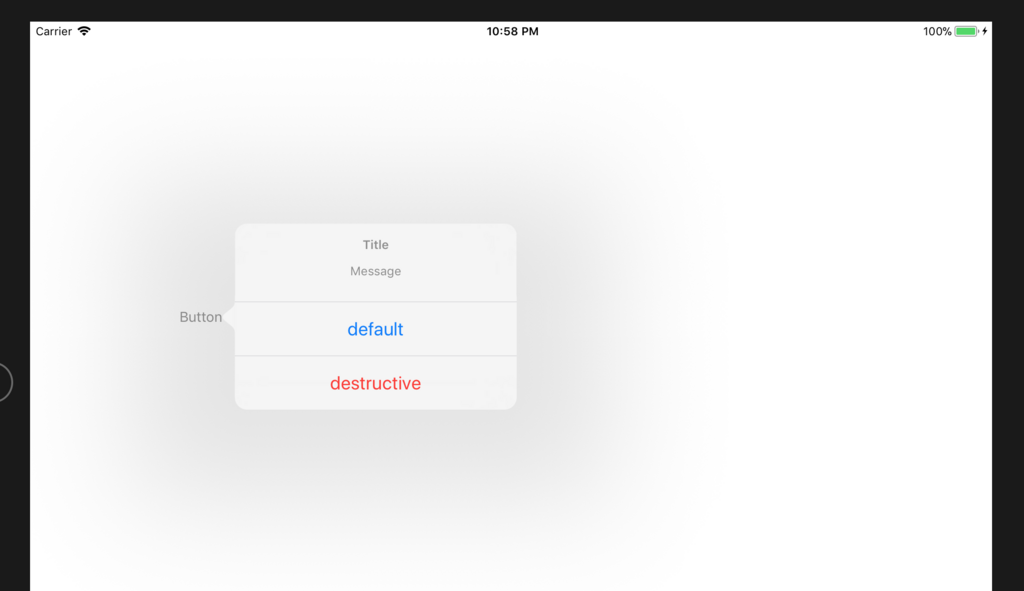
sourceRect に吹き出しを指したい位置を指定します。
インストーラーの少し修正を行った時のメモ
Xcodeでswiftを使って見ている所感など
現時点での分
- 作ったものを即動かせるので楽しいです
- Swiftはバージョンが変わるとかなり書き方が変わる印象が強いです
- 新しい書籍はObjective-cよりSwiftの方が多い気がします
- 多言語だと do - while 文が repeat - while と書くなど戸惑う事も多いかも知れません
swiftの学習に関して
AndroidStudioやEclipseでAndroid向け開発、もしくはVisualStudioでWindows向けの開発経験がある
- ドキュメントを読む(日本語ドキュメント - Apple Developer)
- 2017年末に発売される「詳解 Swift 第4版 荻原 剛志」を読んでみる(https://www.amazon.co.jp/%E8%A9%B3%E8%A7%A3-Swift-%E7%AC%AC4%E7%89%88-%E8%8D%BB%E5%8E%9F-%E5%89%9B%E5%BF%97/dp/4797395184)
スマホやタブレットなどの開発をしたことがないのであれば
- 「詳細! Swift 4 iPhoneアプリ開発 入門ノート」を読んでみる(https://www.amazon.co.jp/Swift-iPhone%E3%82%A2%E3%83%97%E3%83%AA%E9%96%8B%E7%99%BA-%E5%85%A5%E9%96%80%E3%83%8E%E3%83%BC%E3%83%88-Xcode-9%E5%AF%BE%E5%BF%9C/dp/4800711843)
- とりあえず Hello World! をシミュレータで動かしてみる(方法をネットで検索することも含めて練習だと思います)
Playgroundをほんの少しだけ触ってみる
コードを簡単に試すことができるというPlayground。
聞いたことはあっても全く触ったことが無かったので少しだけ触ってみます。

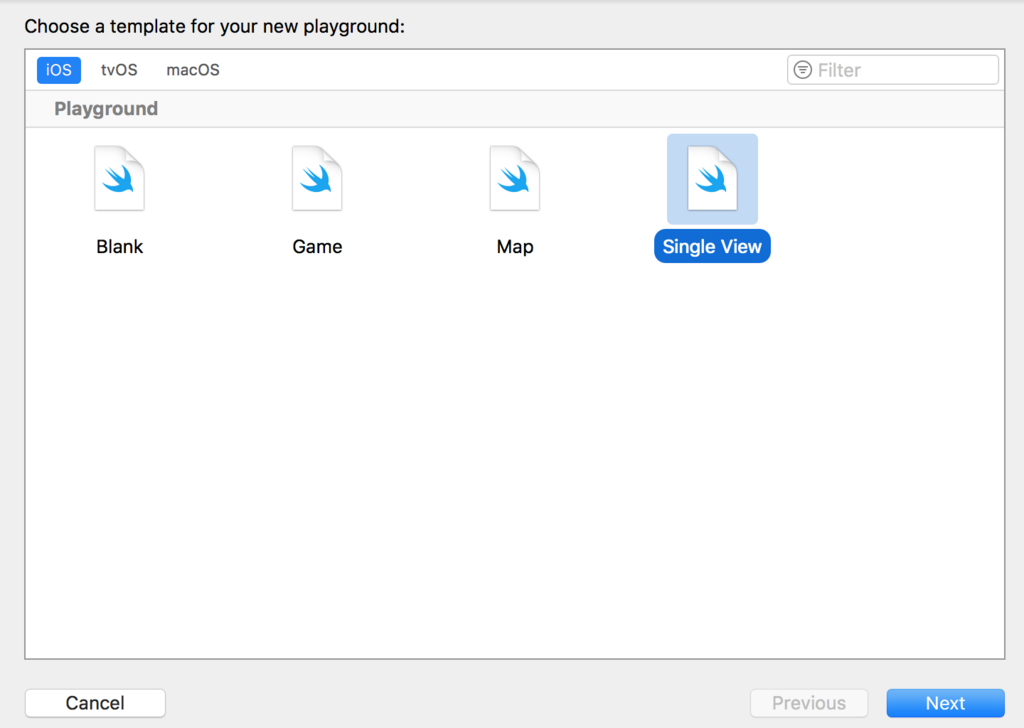
"Get started with a playground"を選択します。
とりあえず Single View で Next。
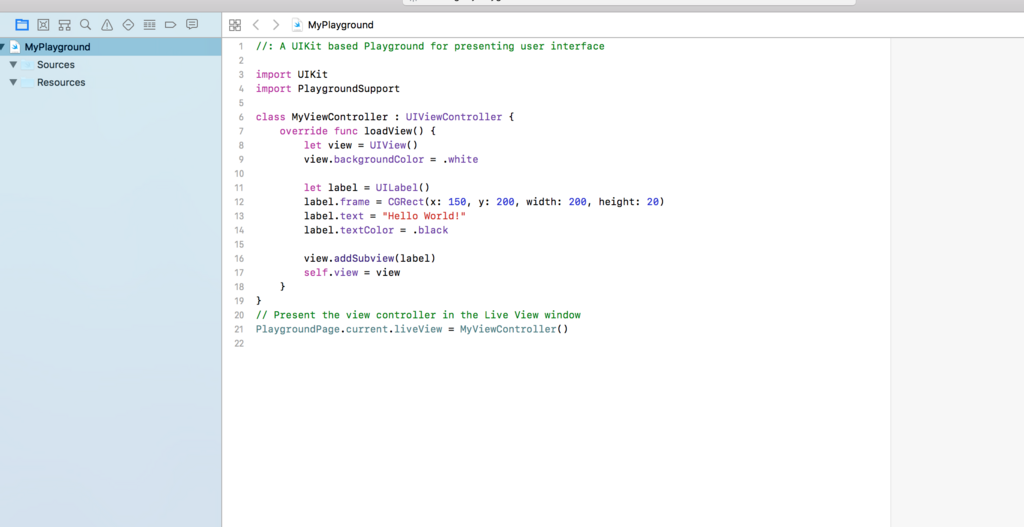
とてもシンプルな作りですね!
new Xcode Project で作成されるのと比べて一つのファイルというシンプルさ。
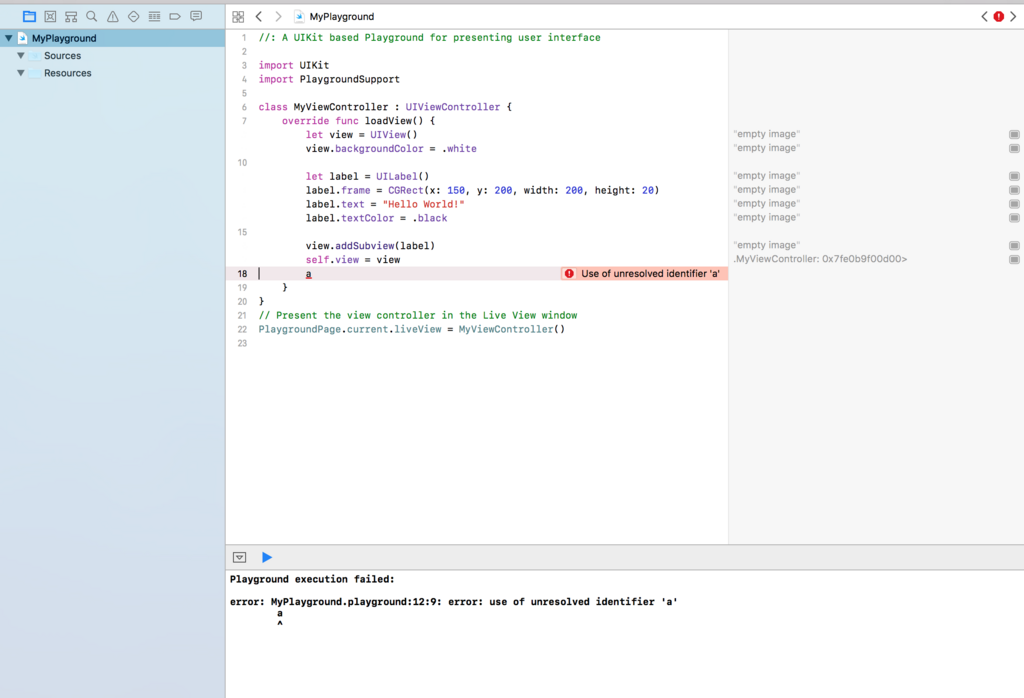
適当に a だけ追加してビルドをしようとしましたが、ビルドボタンがありません!
ですがエラー内容は下に出てきました。
さらにちょっと修正。

- 変数定義は右側に内容が表示されます
- print() は即座に下のデバッグエリアに表示されます
感想
UIが絡まないコードのテストで使いこなせば便利そうです。
ある程度のUI表示?も可能らしいので、そのあたりも試す暇があれば良いな。
TomcatとApacheの連携
前ブログの再掲
設定した環境
OS:Windows 10 Home
システムの種類:64ビット
まず
TomcatとApacheのサービスが動いていれば停止させます。
連携に必要な設定
ファイル無いの以下の内容のコメントアウトを解除します。(#を消すだけ)
#LoadModule proxy_module modules/mod_proxy.so
#LoadModule proxy_ajp_module modules/mod_proxy_ajp.so
末尾にインクルードを追加します。
Include conf/extra/httpd-proxy.conf
httpd-proxy.confファイルの作成
Apacheのディレクトリにあるconf/extra/内にhttpd-proxy.confファイルを作成します。
内容は
<Location /webcon/>
ProxyPass ajp://localhost:8009/webcon/
</Location>
※8009はtomcatのconf/server.xml内にある
<Connector port="8009" protocol="AJP/1-3" redirectPort="8443" />
のポート番号っぽいけど変更後にtomcat再起動しても問題なく動作したので、調べる予定。
※とりあず連携させるだけならTomcatの設定変更は必要なさそうです。
連携の確認
上記設定を済ませたら、TomcatとApacheのサービスを起動します。
起動したらブラウザを起動して以下のアドレスにアクセスします。
localhost/webcon/Test.html
HELLO! が表示されれば連携はOKみたいです。
Apacheをインストール
前ブログの再掲
設定した環境
OS:Windows 10 Home
システムの種類:64ビット
Apacheのインストール
ダウンロード
以下のサイトを参考にダウンロードしました。
http://www.adminweb.jp/apache/install/index1.html
解凍先
Tomcatと同じく"c:¥renkei¥svFile"に解凍しました。
設定の変更
Apacheフォルダ内のconf直下にあるhttpd.confファイルを変更します。
httpd.confファイル内に"c:/Apache24"という記述は全部"c:¥renkei¥svFile"に置き換えます。
サービスの登録
コマンドプロンプトから登録します。
c:¥renkei¥svFile¥Apache24¥bin¥httpd.exe -k install
そしてApacheの開始
net start Apache2.4
Tomcatと同じくコントロールパネルのサービスからの開始もできます。
Apacheの動作確認
Apacheの起動後、ブラウザを起動して以下にアクセス
http://localhost/
Is Work!!
が表示されたのならばApacheが起動しています。
以上で設定は完了です。
